

Cleanroom Cleaning Procedures
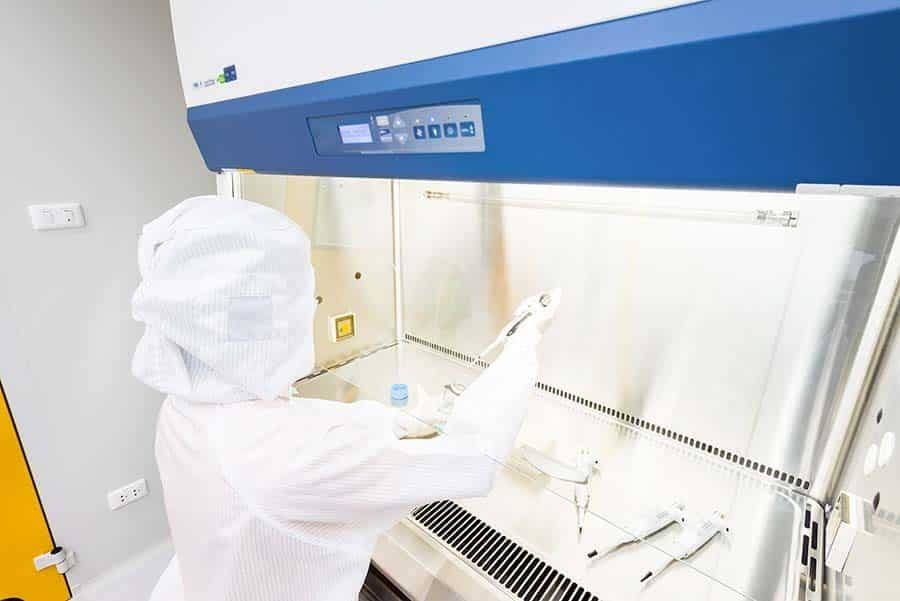
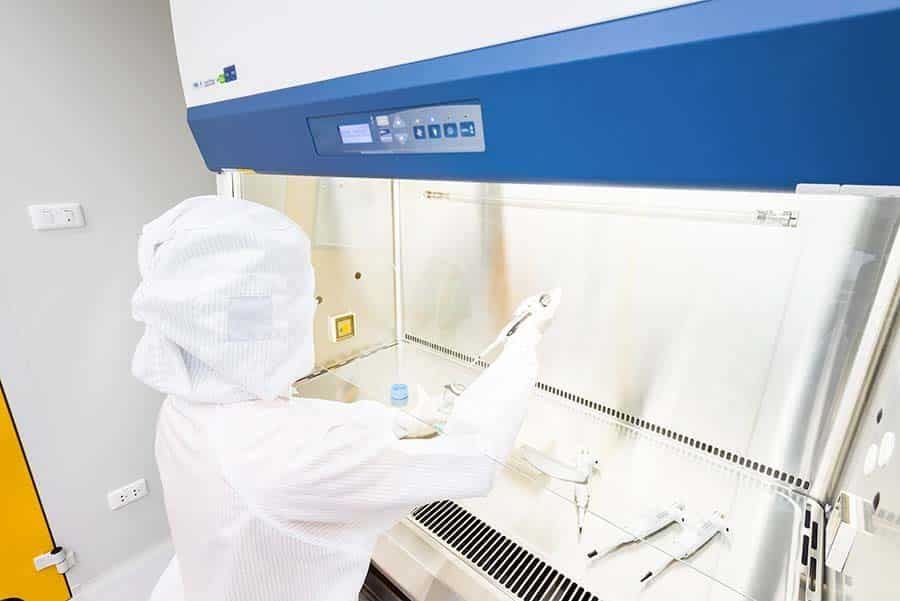
Cleaning is how a cleanroom keeps the classification it was built to hold. Even a well-designed room drifts out of specification if it is not cleaned correctly and often enough, because contamination arrives constantly, from the people inside, the equipment, the materials, and even the world outside the walls. This post sets out where that contamination comes from, the operating habits that keep it down, the materials to keep out, and a step-by-step cleaning method your team can follow.
Where cleanroom contamination comes from
Before you can clean effectively, you need to know what you are cleaning up and where it originates. Four sources account for most of it.
People
People are usually the biggest culprit. Skin flakes, hair, and droplets in the breath can contaminate a cleanroom quickly without the proper PPE being worn, which is why gowning discipline and cleaning discipline go hand in hand.
Equipment
Any equipment entering or kept in the cleanroom must be thoroughly wiped down and checked regularly for rust, chips, and stray droplets such as oil. A single worn or corroding tool can shed particles across a whole work area.
Production materials
Supplies are often brought in very regularly, so contamination can ride in on dirty packaging. Conveyor belts are particularly hard to keep clean and must be addressed specifically in the cleaning SOP rather than left to chance.
The surrounding environment
This one sounds odd, but the location of the building matters. A cleanroom in an industrial area where rubbish is being burnt can draw in smoke particles. A coastal site can bring salt, and a dry region can bring soil particles. These conditions should be identified at the briefing stage of any cleanroom design, so the filtration and procedures account for them from the outset.
Operating habits that reduce contamination
A cleaning routine only works if daily behaviour supports it. In a cleanroom of any ISO classification, all users should walk slowly and avoid creating air turbulence, since brisk movement lifts settled particles back into the air. The habits below keep contamination down between and during cleans:
- Plan your day. Gather all the materials, tools, and supplies you need before you start, such as cleaning solutions, wiping materials, assembly and testing tools, production forms, and the process materials themselves. Less back-and-forth means less turbulence.
- Clean and inspect all incoming supplies, materials, equipment, tools, parts, carriers, and carts, paying particular attention to the wheels, and looking for chipping, rusting, and other signs of wear.
- Clean or remove all outer packaging before items go into the cleanroom. Where possible, supplies and equipment should enter in poly bags or clean packaging.
- Wipe down your work area at the end of each shift, to give the room air time to settle before the next shift begins.
- Know the airflow patterns at your station and organise your workspace accordingly.
- Do not block HEPA-filtered air from reaching the product with your body or equipment, and do not pin or tape notes or instruction sheets to walls or equipment where they interrupt that airflow.
- Keep tools, equipment, and supplies in appropriate containers or designated areas until needed, positioned downstream of the product so they cannot contaminate it.
- During lunch, long interruptions, and at the end of the shift, store or cover all products, supplies, and materials to protect them.
- Wipe up any spill immediately, and re-clean any object that becomes contaminated.
- Never touch exposed skin with a gloved hand. If it happens, change the gloves.
Materials that are not allowed in a cleanroom
Some materials shed particles by their very nature and have no place in a controlled area. These include:
- Cardboard and paper
- Wood
- Natural fibres such as cotton, wool, rubber, and leather
- Metallic surfaces such as furniture with a coated or sprayed finish
- Powder-, spray-, and aerosol-producing items
That last category is awkward when the product itself is a powder or spray. In those cases the work should be carried out within a fume hood designed to capture it at source.
The cleaning method
Cleanroom cleaning follows a top-to-bottom, unidirectional wiping strategy using sterile, non-shedding materials and approved solvents such as 70% isopropyl alcohol (IPA). Physical cleaning and microbial disinfection are treated as separate steps, and the direction of every stroke is controlled so that particles and airborne microbes are lifted away rather than spread around. The recognised industry reference for this is the IEST recommended practice on cleanroom cleaning and sanitisation, and the wider operational requirements sit within ISO 14644-5, the international standard for cleanroom operations.
The following workflow is built on those best practices.
1. Preparation and gowning
Discard all cardboard, paper, and fibrous outer packaging before taking items in. Wear no make-up, jewellery, or perfume, and store personal items outside the gowning area. Put on sterilised cleanroom garments, including coveralls, bouffants or hoods, face masks, and booties, and step on adhesive sticky mats to pull dirt off footwear. Getting this stage right is covered in full in our cleanroom gowning procedure.
2. Wiping technique
- Quarter-fold your wipes so the open, unfolded edges stay away from the surface, and use only the folded edges and the face of the wipe.
- Wipe with firm, overlapping unidirectional strokes, with a minimum of 50% overlap. Use each side of the wipe once, then dispose of it properly.
3. Order of cleaning
Clean from the cleanest area to the dirtiest, starting at the highest points and working down to the floor, so that particles are never redeposited onto surfaces you have already cleaned.
- Ceilings and walls. Use a cleanroom-approved telescopic mop with overlapping unidirectional strokes, moving from the furthest corner of the room towards the entryway.
- Workbenches and equipment. Wipe the outer surfaces of tools and hardware with cleanroom wipes and 70% IPA.
- Floors. Mop with a slow, figure-of-eight motion, moving backwards towards the exit. Change the mop head frequently, for example after every 10 square metres, so you are not dragging dirt across clean floor.
4. Cleaning versus disinfection
Cleaning and disinfection are two separate jobs. Cleaning removes physical contaminants and built-up residue, using neutral detergents or water for injection (WFI). Disinfection then treats the surface with a facility-approved disinfectant to kill microbes. Rotate your disinfectants periodically to stop microbial resistance building up.
5. Cleaning supplies
- Use only non-abrasive, woven polyester or cleanroom-certified wipes.
- Use mopping systems that physically separate dirty and clean solutions, so you are never reintroducing what you just removed.
A cleaning method is only as good as the routine around it. Set the frequency, define who does what, and monitor the results, so the room stays at the standard it was built to reach rather than slipping quietly below it.
